


World Leader in Mobile Computational Photography &
Visual Artificial Intelligence
Our Solutions

Single Camera Solutions
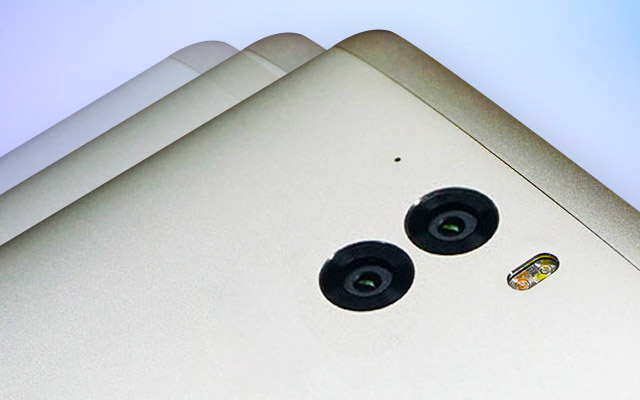
Dual Camera Solutions

360° Camera Solutions

Motion Sensing Solutions

Smart Refrigerator Solutions

Video Broadcasting Solutions